Configure OAuth 2.0
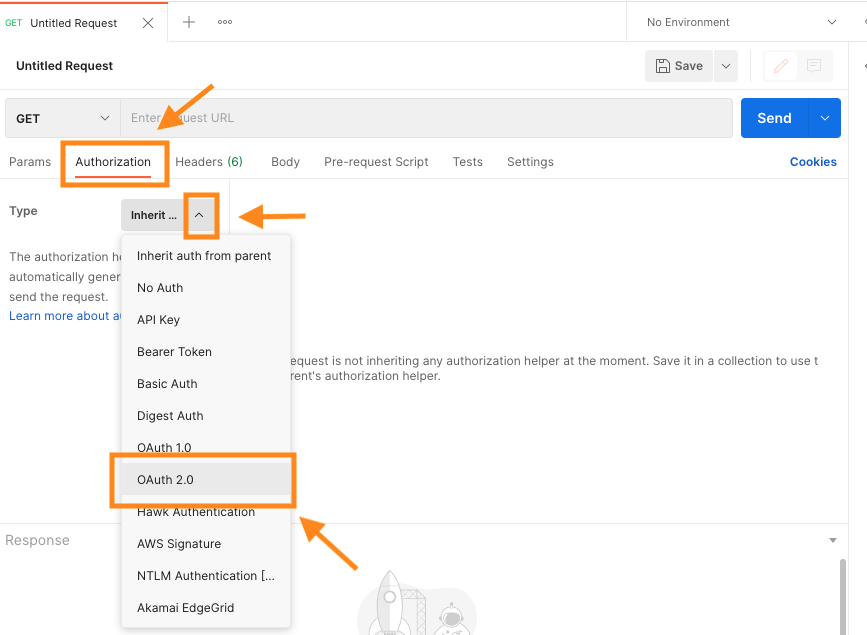
Once we have a new tab, click on the Authorisation item, then change the type to OAuth 2.0
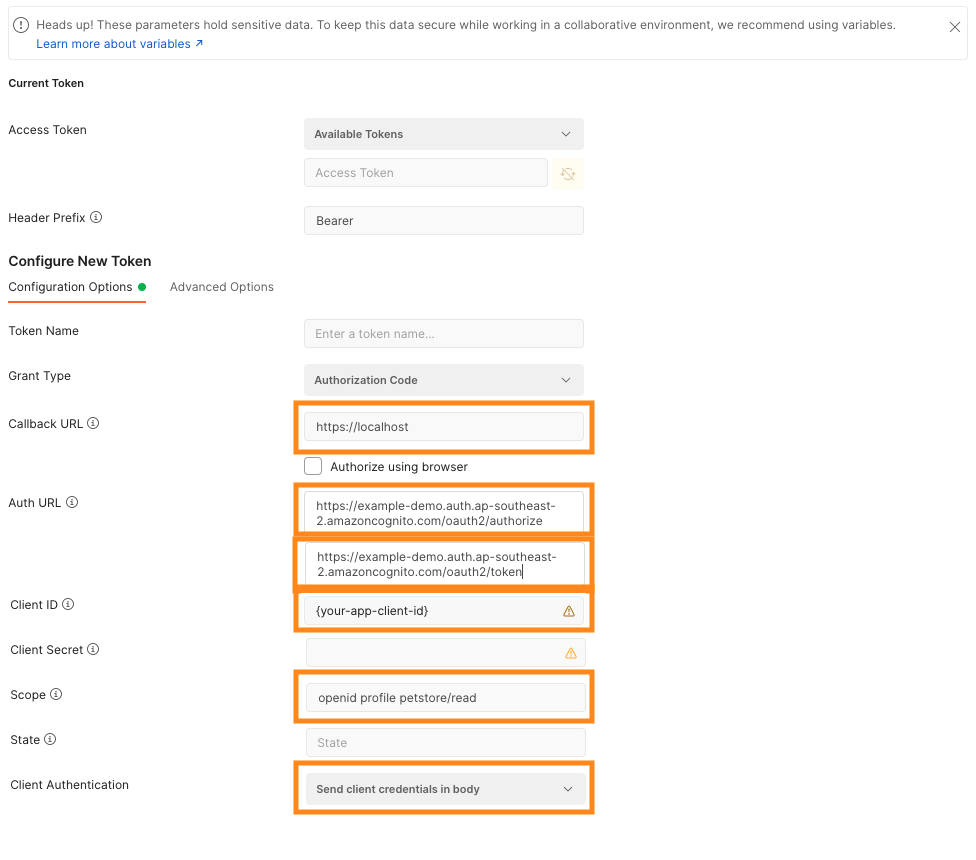
Fill out the settings as per below, the Callback URL will be:
https://localhost
The Auth URL’s will be:
https://{your-cognito-domain}.auth.{your-region}.amazoncognito.com/oauth2/authorize
and
https://{your-cognito-domain}.auth.{your-region}.amazoncognito.com/oauth2/token
This can be found by navigating in Cognito console to App integration tab. Then in there, look for Cognito domain.
The Client ID can be found by scrolling down in the App integration page to App client and analytics section. The ID will be listed next to your App client name.
Bonus activity: Try it with Grant Type set to Authorization Code with PKCE Return the authentication flow and notice the changes; notice that a code verifier will be provided at the authorization step and the code will be provided during token exchange.
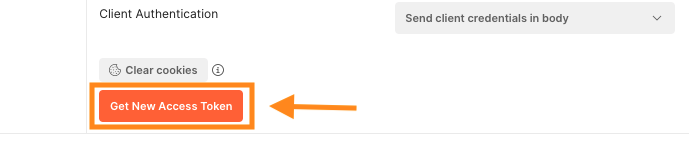
Then click Get New Access Token
This will pop up a mini browser requesting your credentials, use the credentials you created earlier to login and click Sign in.

The mini browser will close and if you have followed all the steps correctly you will see this message:
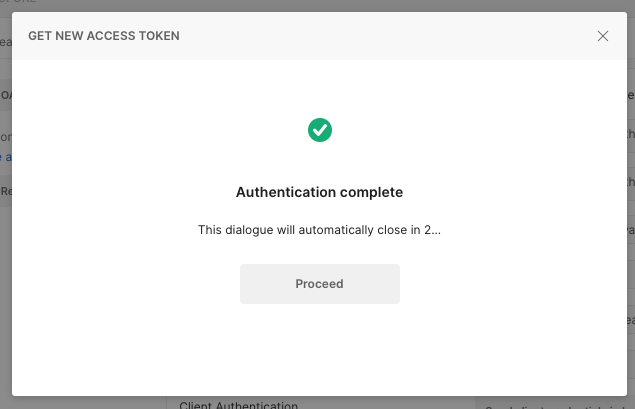
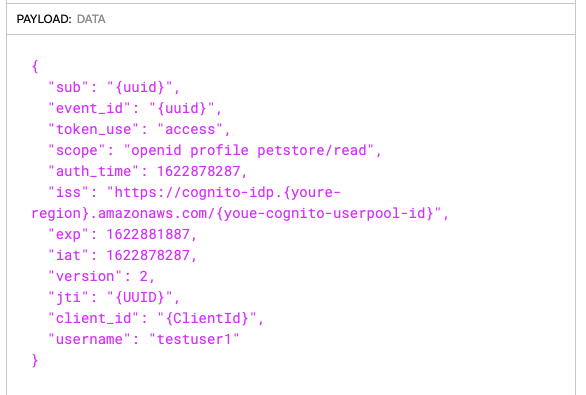
Click Proceed to view the tokens returned by Cognito. The token returned can be decoded at https://jwt.io for closer inspection this token is used to send to our service to authenticate and and provide course level access as defined by the scope. An example can be seen below.
You can click Get New Access Token several times for new/additional tokens, try this. Then Click Clear cookies and try again and notice you will have to log back in.
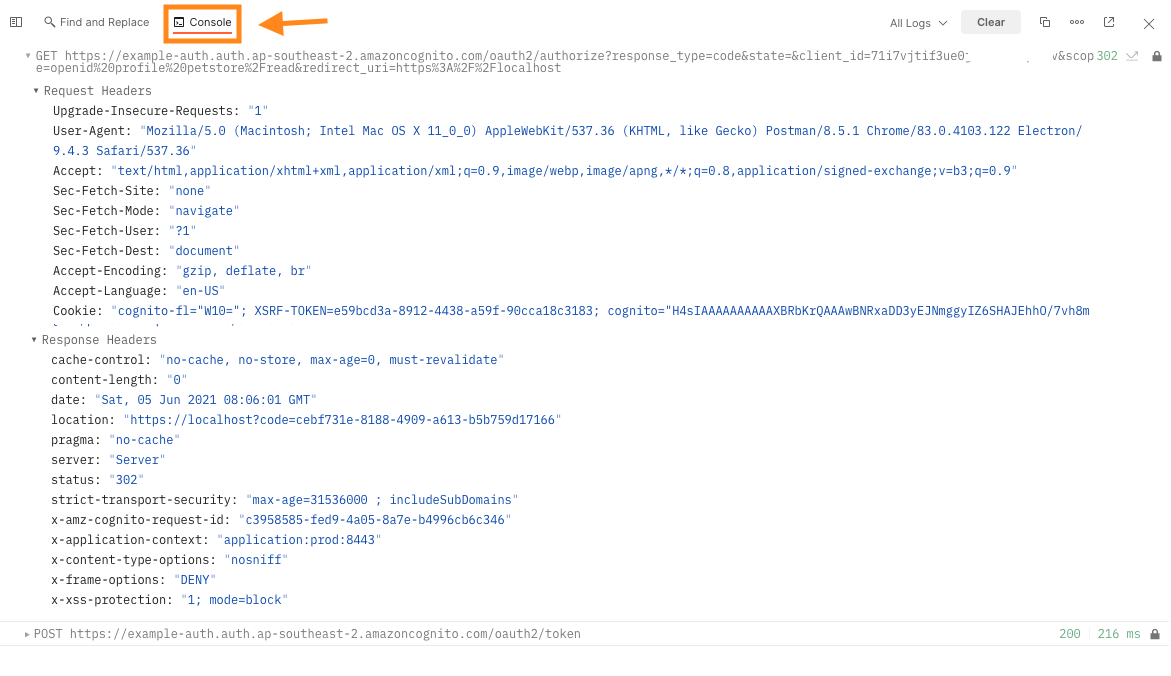
Lastly, if you encounter issues or would just want to look at the http calls and redirects at the bottom of postman click Console to see the detail.